Last edited 17/5/17
Save As, Save As, Save As
As I mentioned in the article about Liveschool trainer’s favourite key commands – I am constantly using Save As (with a new name each time) as part of my production workflow. While I don’t have set rules in place, in the the earlier stages of writing a tune I’ll usually do a Save As after any significant change or addition to the project. This allows me to dive in and experiment freely without ever crossing the point of no return – I can always return to the previous version easily. With this freedom of experimentation comes the chance that something may not turn out as expected. Sometimes my experiments go well, but when you’re 5hrs into flipping your bassline on it’s back and rendering down all of your synths so you can feed them through the Granulator, you may realise that perhaps it was far cooler just the way it was? It’s nice to be able to revert to an older version with a clean slate, free of guilty self indulgence.
Once I’m further down the track and I’m fine tuning and realising my ideas, I’ll do a Save as after every hour or two of work. As well as safe guarding myself from overworking the project, I find it helpful to catalogue the development of the tune, allowing me to A/B between different stages of the production, keeping myself in check. In order to keep all of these versions organised, I usually just use a number system for naming them – the project will start at My Song 1.0, a minor change or a couple of hours work will bring it up to My Song 1.1, and then a significant change will push it to My Song 2.0 and so on. If my workflow dictates a more destructive approach to a project or it is a version I know I’ll probably need to come back to, I’ll add what I’am about to do to the project in the file name. For example, if I’m about to render my drum group, just before I’ve made all my tweaks and am ready to render, I’ll make a Save As called something like “My Song 2.2 (pre drum comp)”, then render the group, saving that as “My Song 2.3”. If I realise later down the track that there was something I needed to change in the drum comp, I can easily flick back to that set, make the changes, redo the render, and bring that file into the current version I am working on. As Sam (the other half of Alba) and I aren’t always working together in the same room, we also find this is also a good way to let each other know what we have done on each version we have worked on individually.
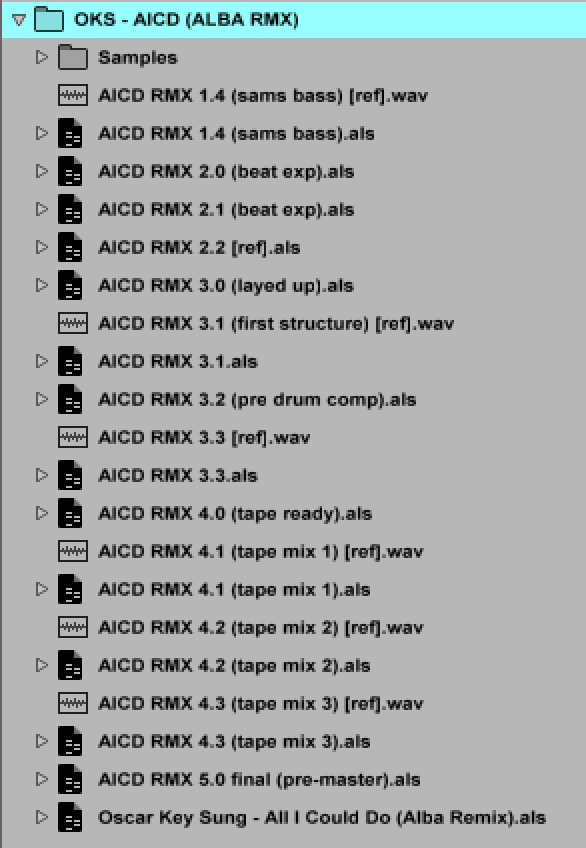
Here’s a screen shot of the project files for our remix of Oscar Key Sung. The earliest stage versions sat in a different project all together, but you can see the progression through to the final pre-master, with reference renders after every couple of versions.
Self-sampling workflow: Render, Save As, then Quit
Another step in cataloguing the development of a tune is rendering out a project as much as possible. I’ll usually make a render after every couple of Save As’, or after a significant change. This makes the A/Bing between versions a whole lot easier, and also means I can listen to my work in progress without having to open up Live and tempting myself to work on it, even though it’s way past my bed time. While I initially implemented this workflow for the sake of efficiency, it’s also set me up with a pretty serious library of “self-samples”. I found myself using renders of earlier versions of a project as sample material for a later version, or for a completely new tune. This led me to occasionally making renders of specific tracks or parts, and build a library of samples and loops of my own ideas. By rendering out these versions and parts, I’ve been able to recycle sounds and ideas from projects that never made it to the finish line, or from ideas that didn’t quite fit with the project I was adding them to.
Learn more about Producing Music with Ableton Live.